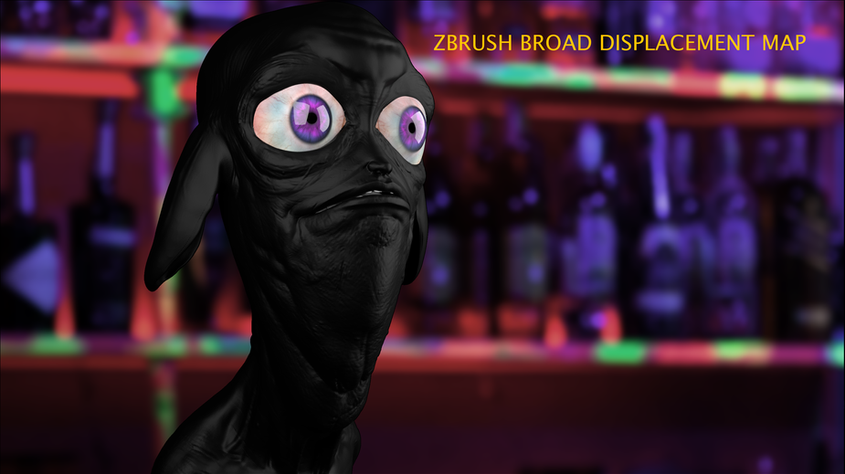
Sculpted in Zbrush
Retopology in Maya
UVs cut in Maya

Texture passes compilation
THE "NITTY-GRITTY" OF THE TEXTURING PROCESS, PLEASE FOLLOW ARROWS ON EACH GALLERY FOR MORE INFORMATION:
After sculpting, decimating and retopologizing this was the sad low poly result.
Luckily I exported the high poly Zbrush detail into a displacement map. Keeping the poly count low and preserving the details
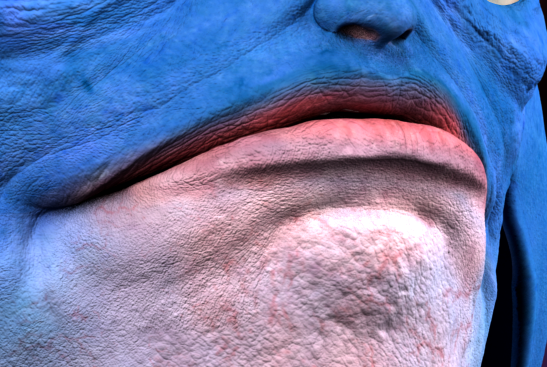
I combined the secondary, tertiary and high-frequency displacement maps of a real person into one image placing each map in a different RGB channel
.
The above map was used mostly for the head. I also use another map with tileable textures without the high-frequency map for broader areas.
There is a very subtle difference between the tertiary displacement pass and the high-frequency bump map. Please pay careful attention!
Process of creation of the diffuse map
Specular map
Roughness map
Subsurface scattering map
After adding the hairs in XGen this is the final product!
I am currently animating this guy.
The idea is to put him serving me a whisky in a short film

So far so good with the rigging. I am using Advanced Skeleton for it


