top of page


1/6
Sculped and retopologized in ZBrush
Textured in Photoshop, Mari and Zbrush

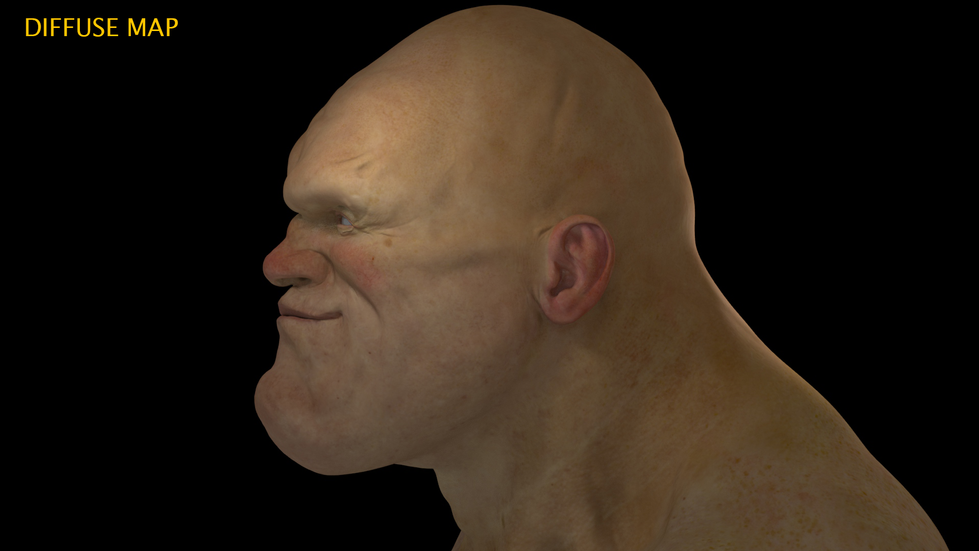
This is the result of the projection of real skin pictures

This photographs are taken from TextureXYZ and have an extremely high level of detail

This is the albedo pass with most shadows taken off

Then the process would be projecting the albedo detail into the model. This process can be quite laborious specially because of the difference in proporcions between the model and the reference

This map was created in Zbrush with all the high polygon shapes and details, just as scars, bumps, moles, veins, wrinkle etc.

This is the secondary displacement map with smaller skin texture detail.

I used a super high resolution photography from TexturesXYZ

In photoshop I separated the information of the photograph into RGB channels being red the secondary channel, green the terciary and blue the bump map.

Like with the color map, here I spent some time projecting the dispacement map into the model using Mari

I created some tilable images as a base for certain areas

This map contains the fine details of the skin, pores and very small wrinkes. I only used this as a green channel in the aishader

This is the finnest of all details. mostly just minute pores that help breaking up the surface. I should say this was connected to the aishader as a bump map.


This is a combination between a curvature map, displacement maps, a Tmask, which is highlighting tight areas and sections of the face more prompt to sweat. and a cloud procedure to break up the specular
bottom of page